LightDark
Light & Lightness - Personal project

The Witch Cat

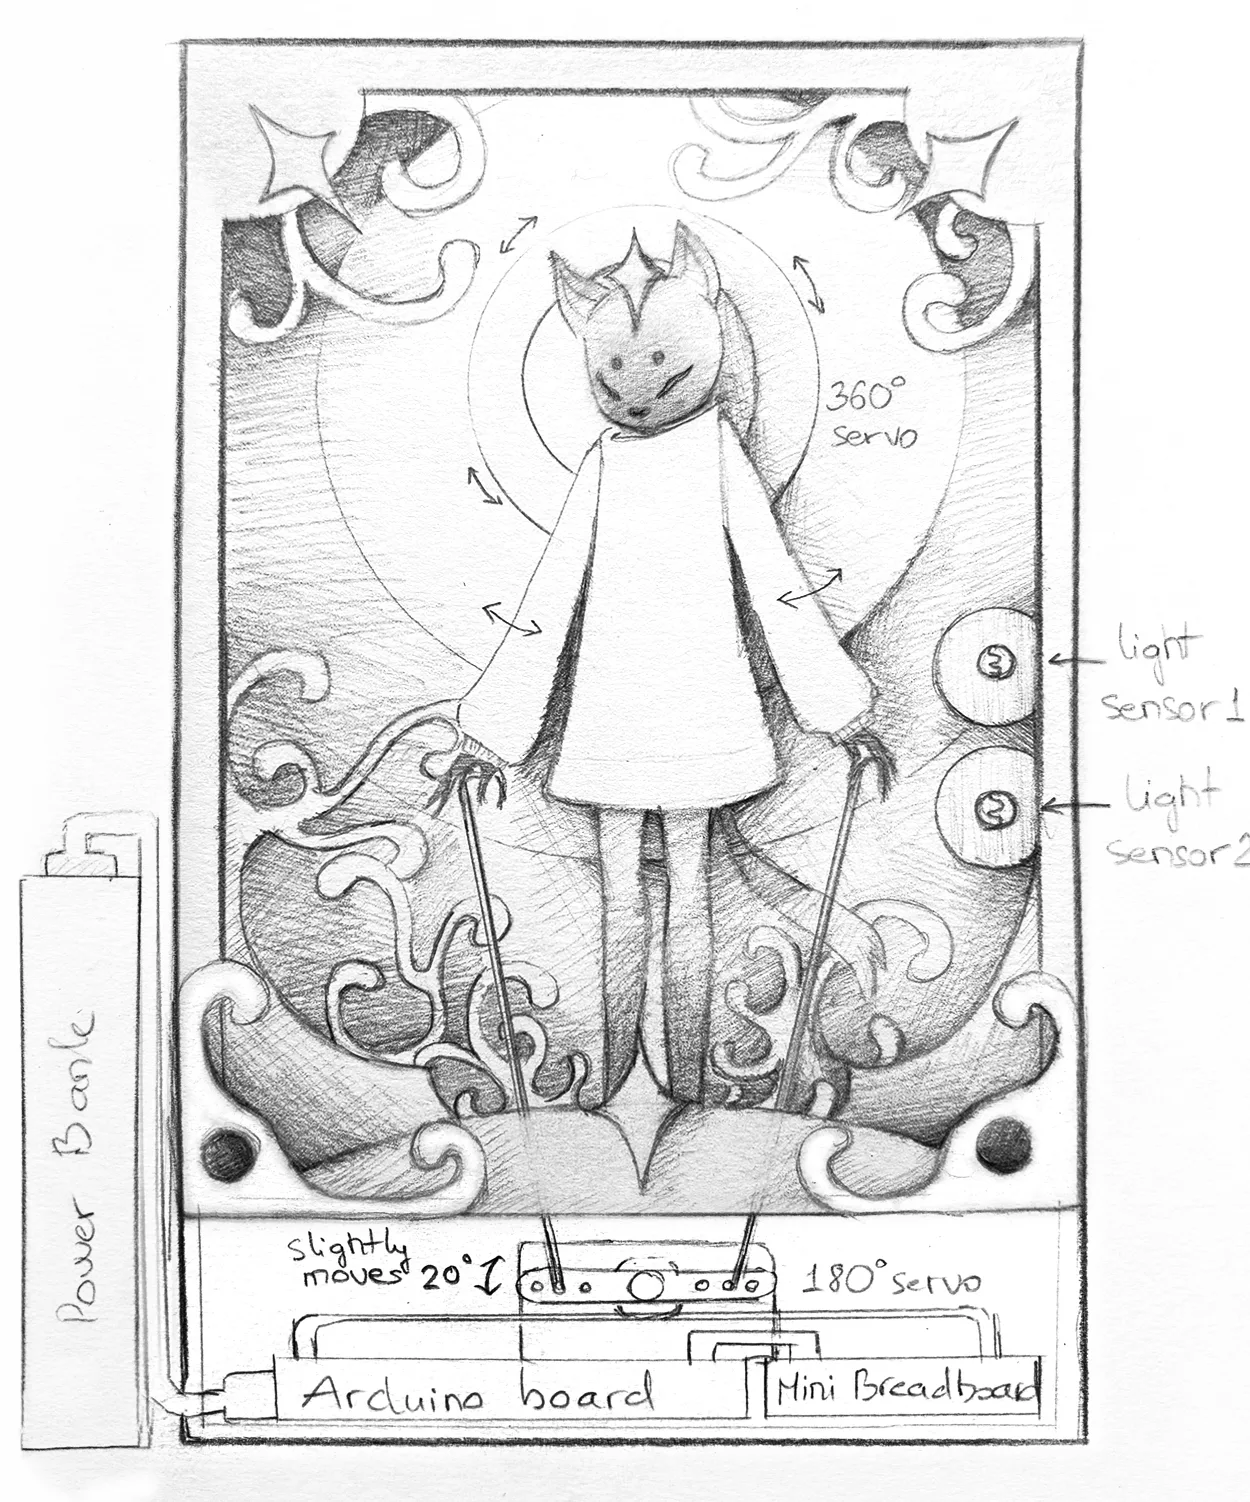
This project explores how light can be used to create simple but expressive movement in a physical computing piece. It uses an Arduino UNO R4 WiFi, two light sensors, and two servos: a continuous rotation servo for the circular elements behind the character, and a 180-degree servo for the arms. The system responds to changes in light rather than fixed light levels. When the viewer moves near the sensor and blocks the light, it triggers the circular motion, making the reaction more noticeable. The arms move slowly on their own as an idle motion, creating a steady rhythm that makes the figure feel alive even when no one is interacting with it.

The contrast between this slow, continuous movement and the more active response helps define the overall behaviour of the artwork. This creates a clear relationship between input (light) and output (movement), which drives the interaction.

GITHUB REPOSITORY

https://github.com/Gr3yNia/the-witch-cat-light-servo-project

CONCEPT

My concept is about a witch cat. Her hands move slowly all the time, even in bright light, to suggest that she is alive. When someone passes by or waves their hand, she “wakes up” and starts casting a spell, as if she’s trying to charm the viewer and pull them into her dream.

MATERIALS & COMPONENTS

Materials:

  • Thick paper / cardstock (for all paper cut layers)
  • Wooden box (frame structure)
  • Black acrylic paint (Liquitex) for finishing the box
  • Aluminum wire (to connect and move the arms)
  • 3D foam tape (to create layered depth)

Electronics:

  • Arduino UNO R4 WiFi
  • Mini breadboard
  • Continuous rotation servo (for circular movement)
  • 180-degree servo (for arms)
  • Light sensors
  • 10kΩ resistors (for voltage divider)
  • Jumper wires / electric wires
  • Power bank (USB)

Tools:

  • Paper cutting knife
  • Scissors
  • Hole punch
  • Soldering iron + solder

CIRCUIT SETUP

  • Light Sensor 1 → A0 (controls circular movement)
  • Light Sensor 2 → A1 (controls arm movement)
  • Continuous Rotation Servo → Pin 9 (circles behind the character)
  • 180° Servo → Pin 10 (arm movement)
  • All components share a common GND
  • Light sensors are connected with 10kΩ resistors
  • Servo signal wires are connected to digital pins (9, 10)
  • Powered by a USB power bank
  • Servos are powered through the Arduino

Step 1:

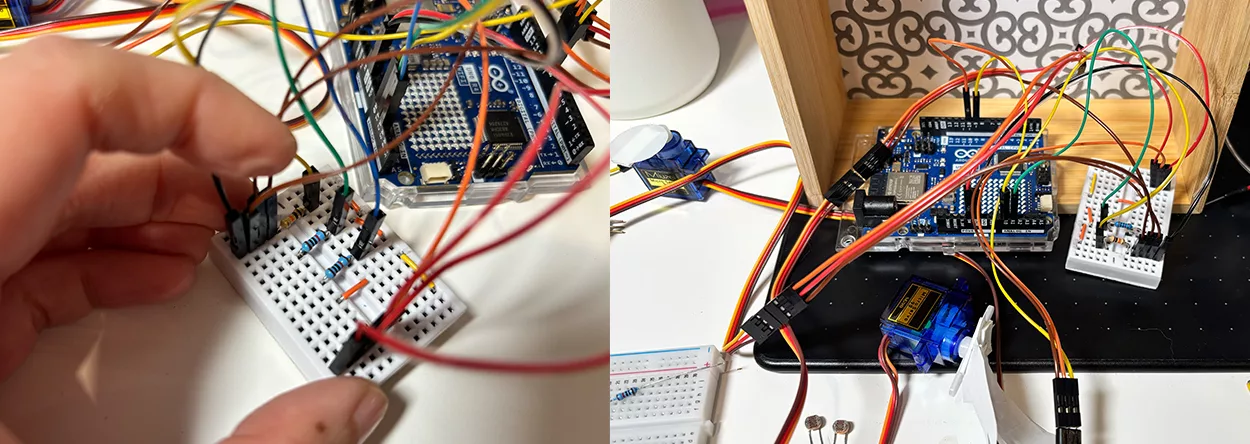
Organized the wiring on a mini breadboard to keep everything compact, then tested the servos and light sensors to make sure they were working properly.
Step 2:

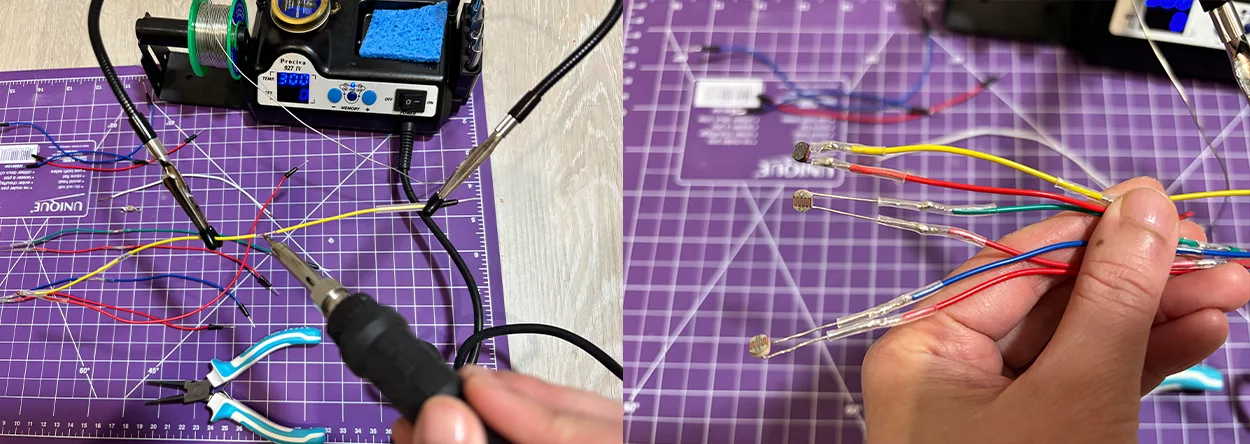
Moved the light sensors off the breadboard and secured the connections using soldering to make them more stable. Use different wire colours for different sensors.
Step 3:

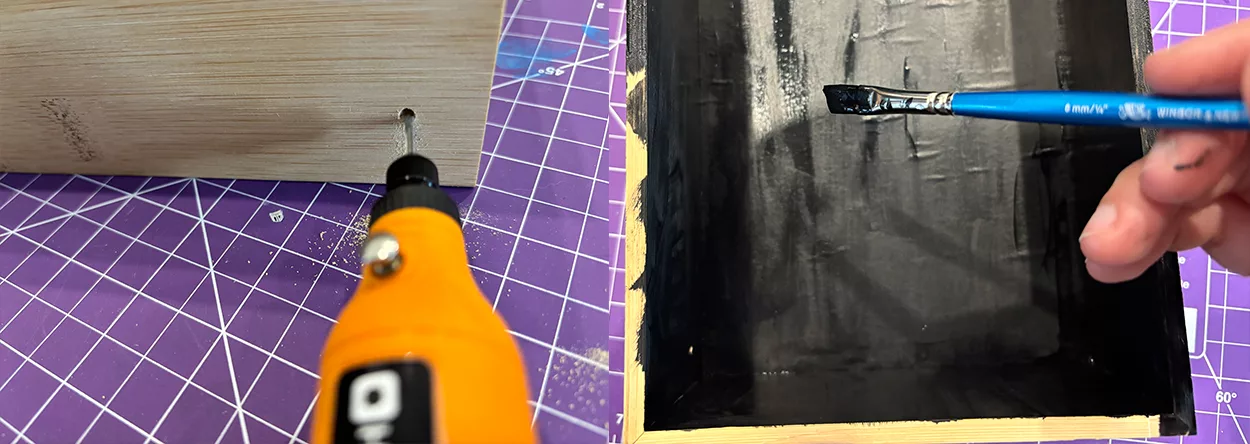
Drilled a hole to install the power bank, then painted the box in black to create a stronger visual effect.
Step 4:

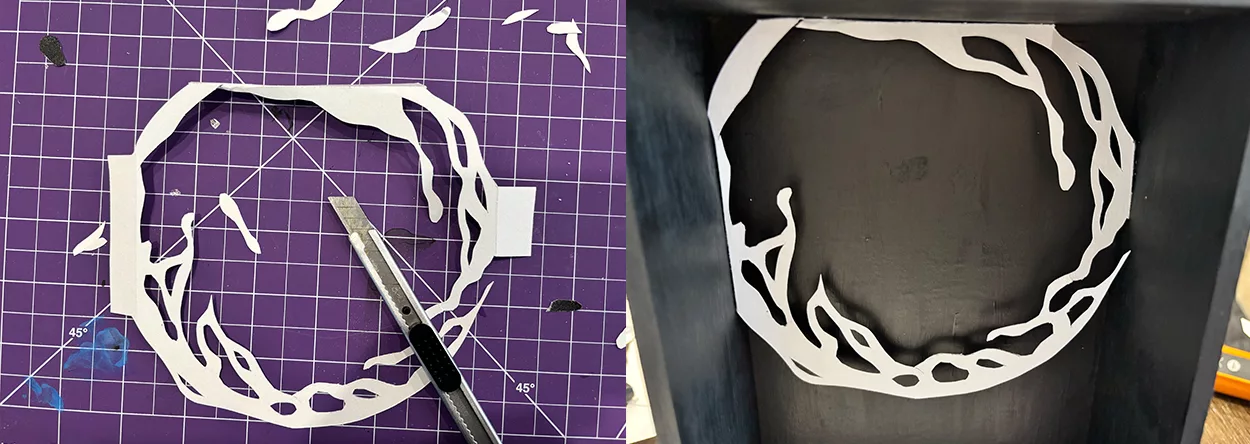
Used a paper cutting knife to create the main artwork pieces, starting with the background. For small paper details, a knife works better than scissors because it can reach tight curved areas that scissors can’t, and helps avoid tearing delicate shapes.
Step 5:

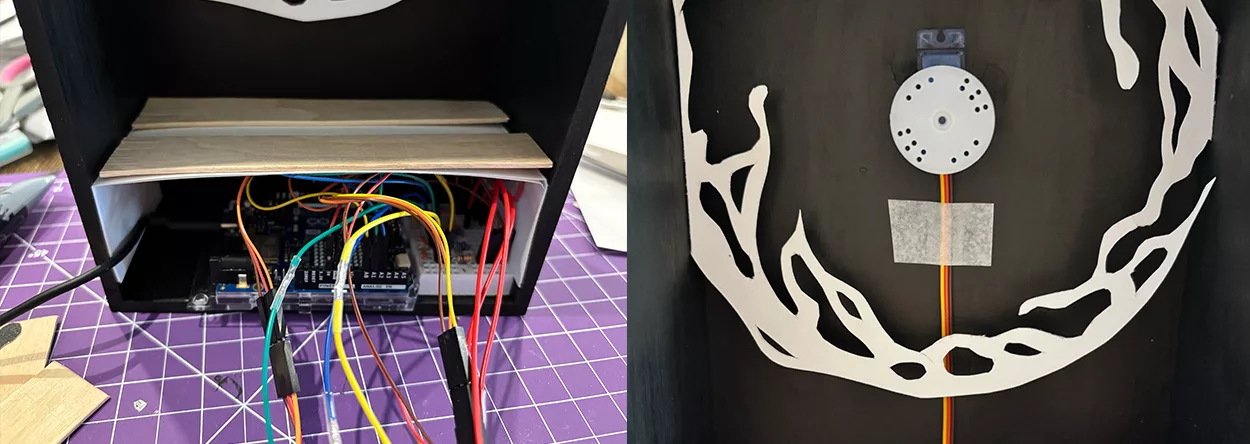
Built a base for the cat to stand on using wooden sticks and thick paper, then routed the servo wires along the back wall and painted them black to hide them.Side note: In this picture, I tested three servos, but later removed one.
Step 6:

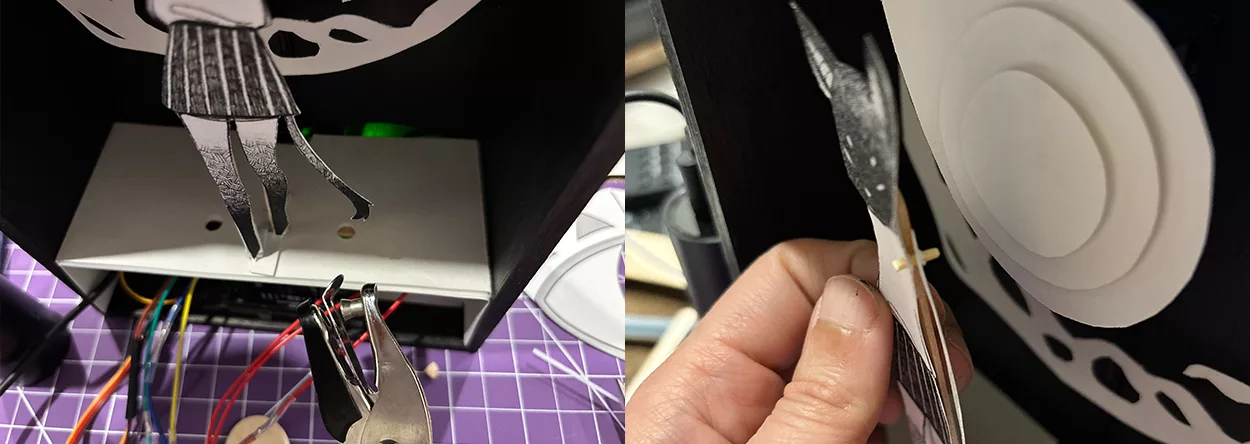
Punched holes in the base for the aluminum wire, then attached the arms to the body using hooks so they can move freely. The continuous rotation servo was decorated as a magic circle.
Step 7:

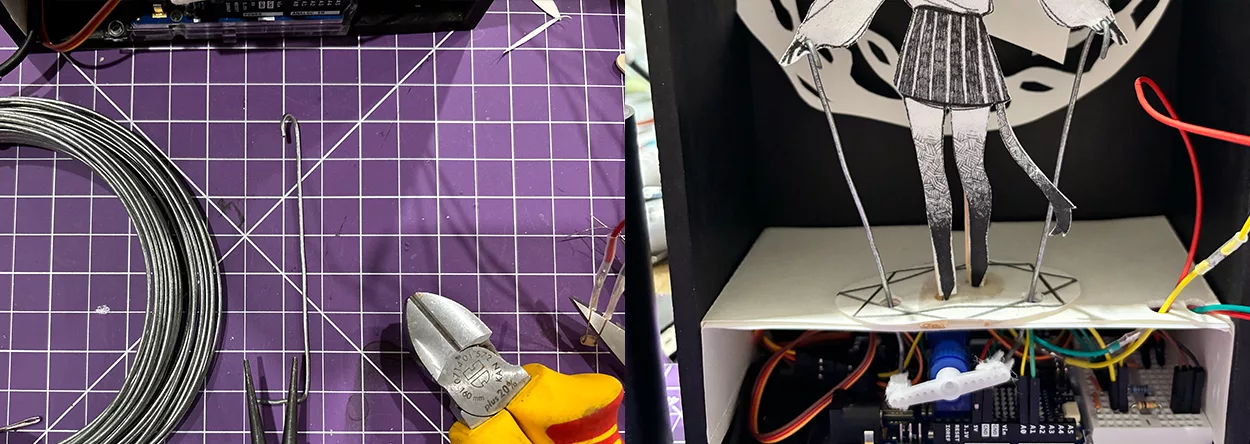
Used aluminum wire to create the structure that connects to the 180° servo motor and moves the arms.
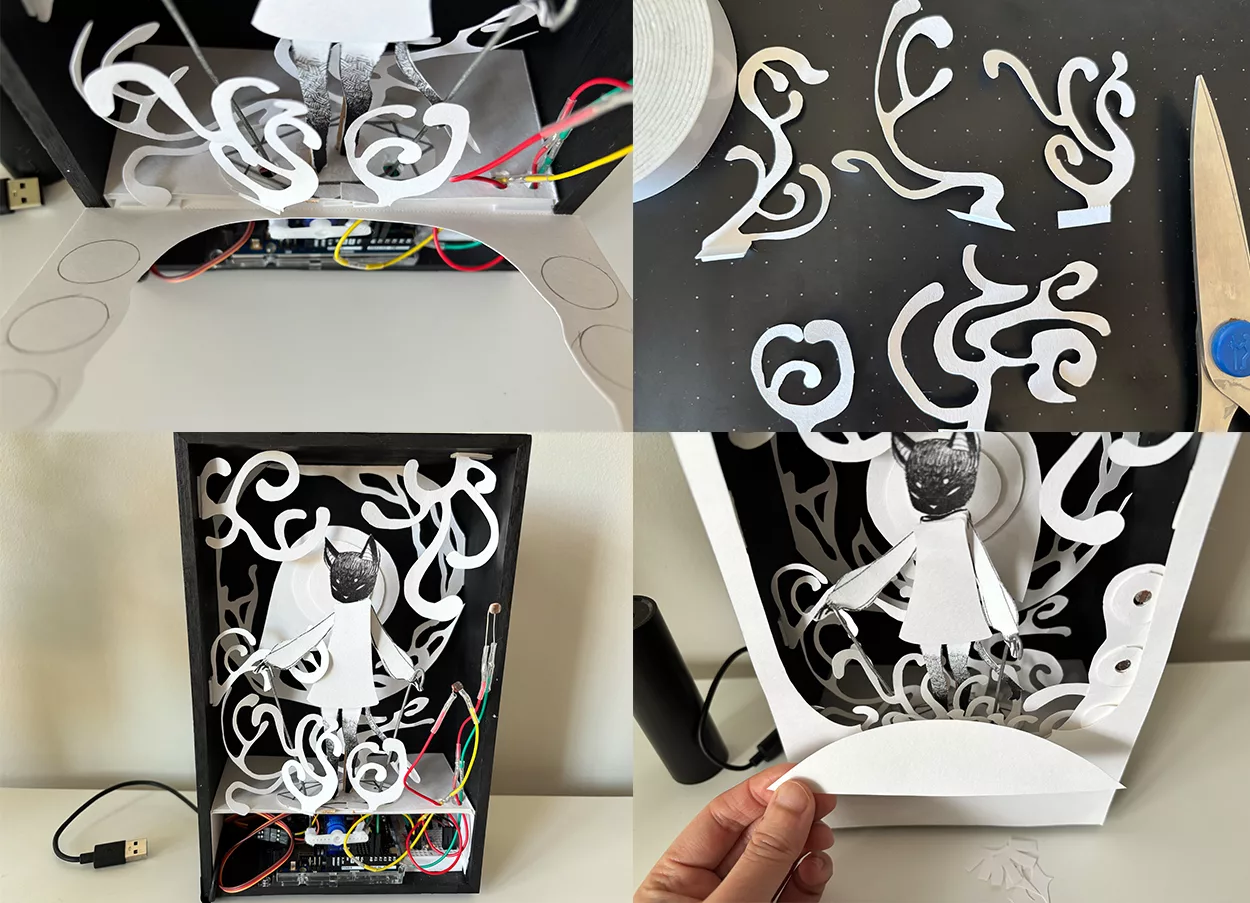
Step 8:

After making sure all the light sensors and servo motors were working properly.I added decorations to the box to create a small magical environment around the character, and an extra layer of the dress to conceal the wooden hooks on her shoulders.
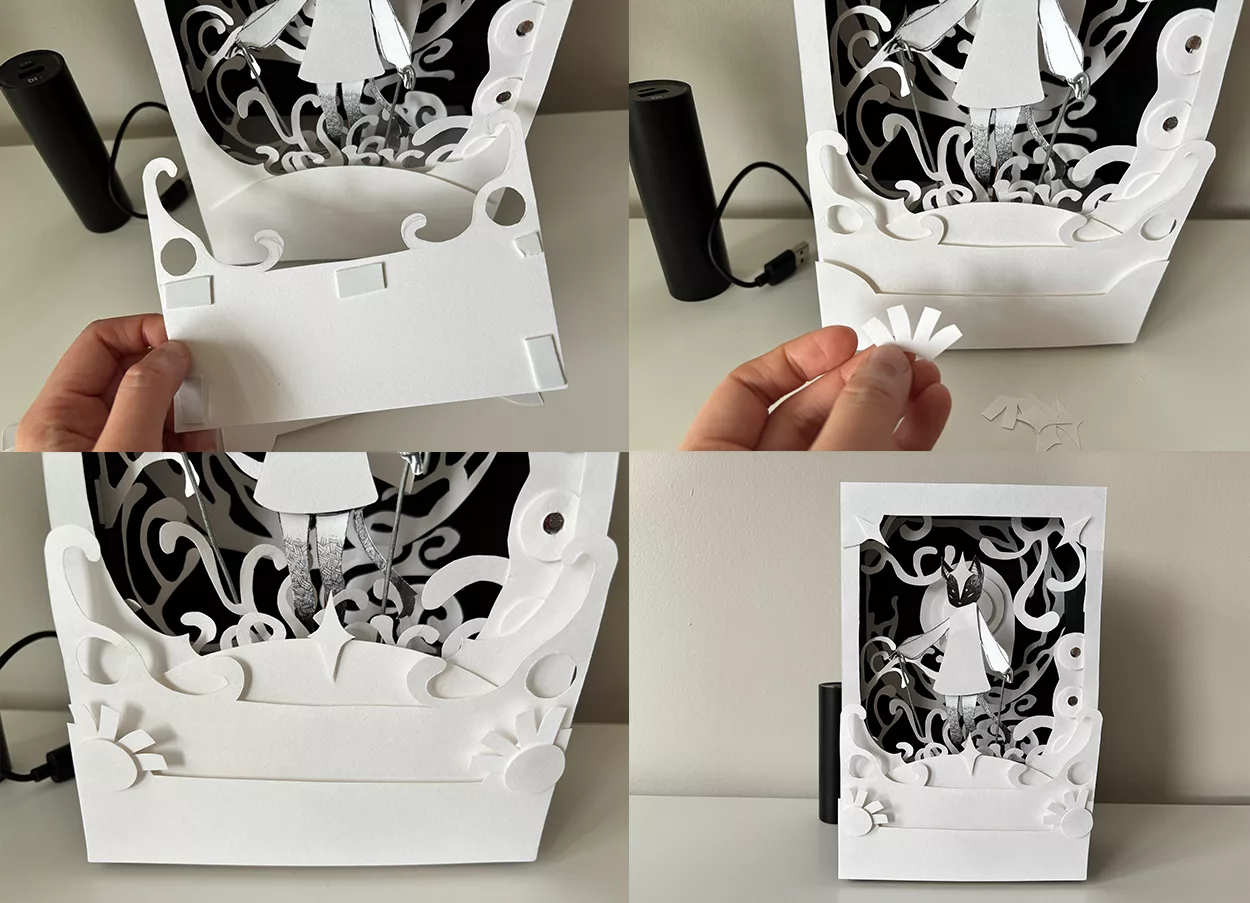
Step 9:

Added additional paper layers around the box to create the outer decorative frame.The thickness of the 3D foam tape adds depth by creating sharp shadows between the white paper layers.
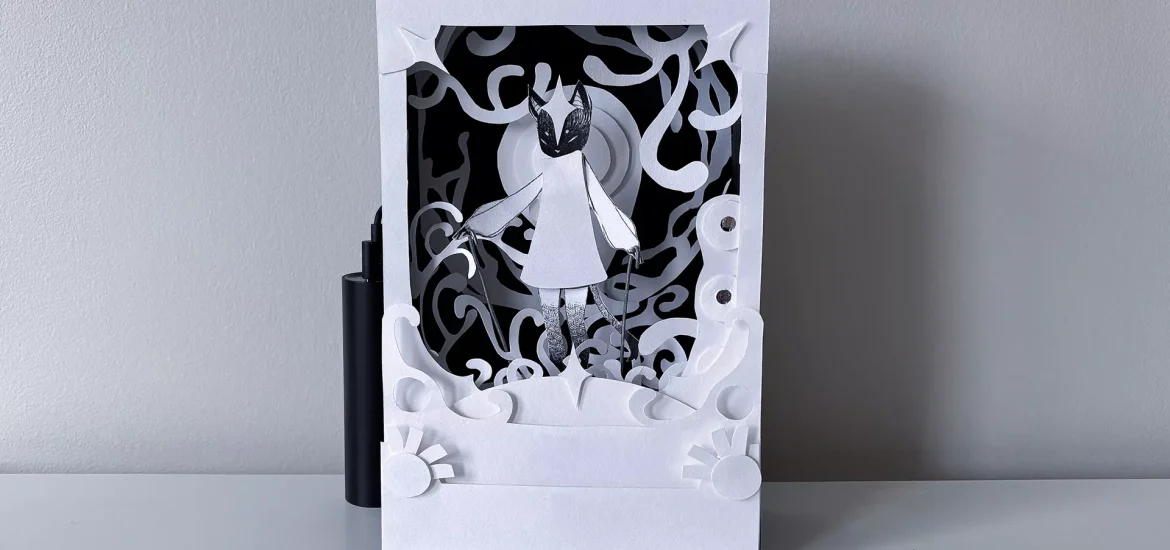
Nia-The-Witch-Featured-Image