Step 1:
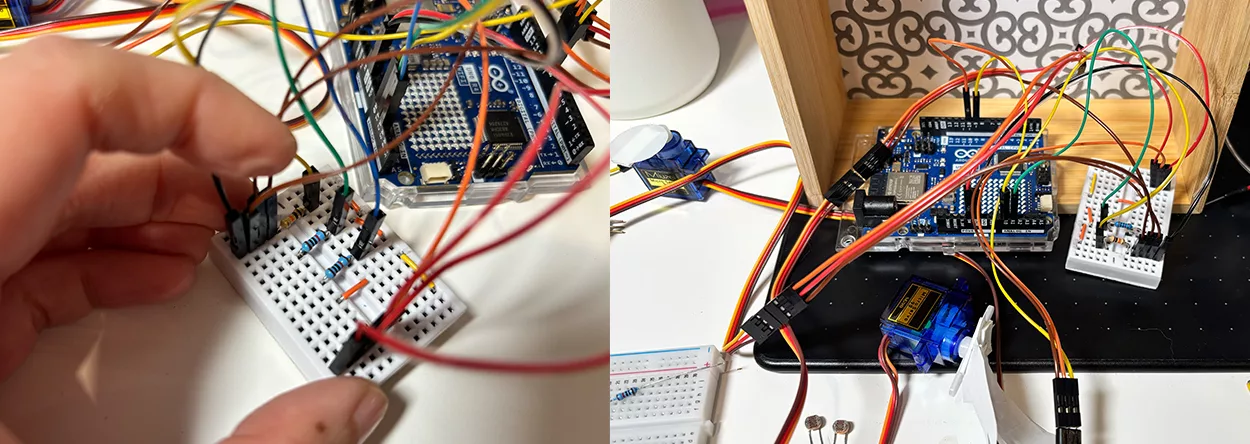
Organized the wiring on a mini breadboard to keep everything compact, then tested the servos and light sensors to make sure they were working properly.
Step 2:
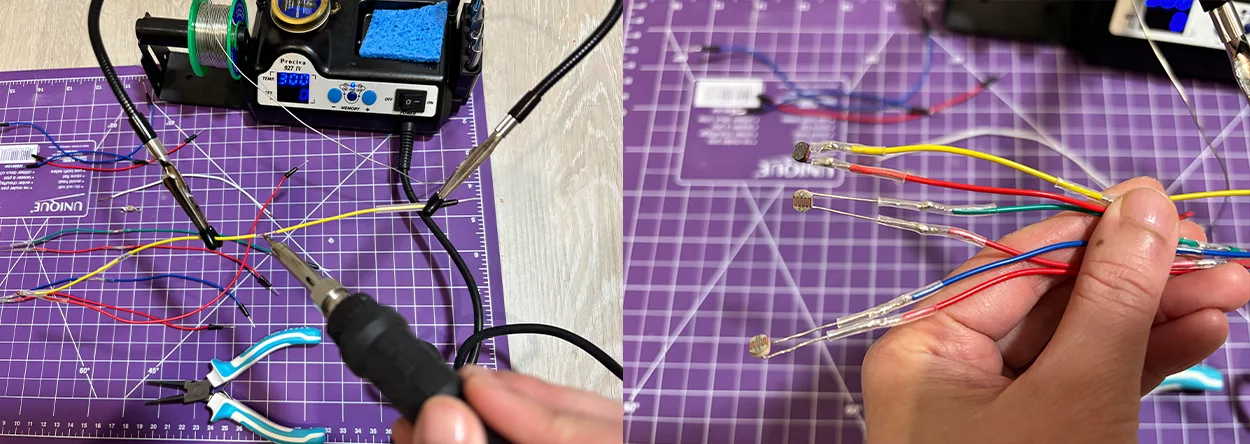
Moved the light sensors off the breadboard and secured the connections using soldering to make them more stable. Use different wire colours for different sensors.
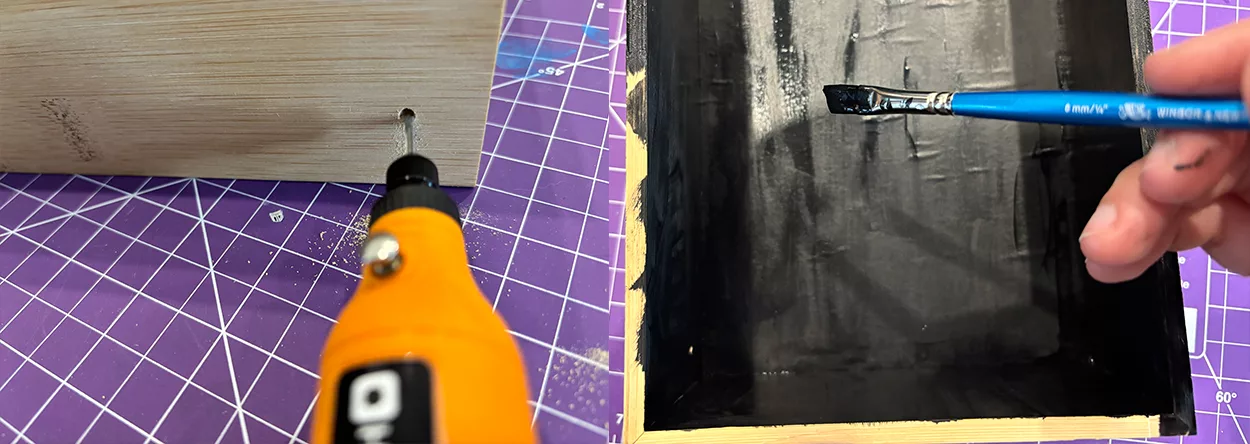
Step 3:
Drilled a hole to install the power bank, then painted the box in black to create a stronger visual effect.
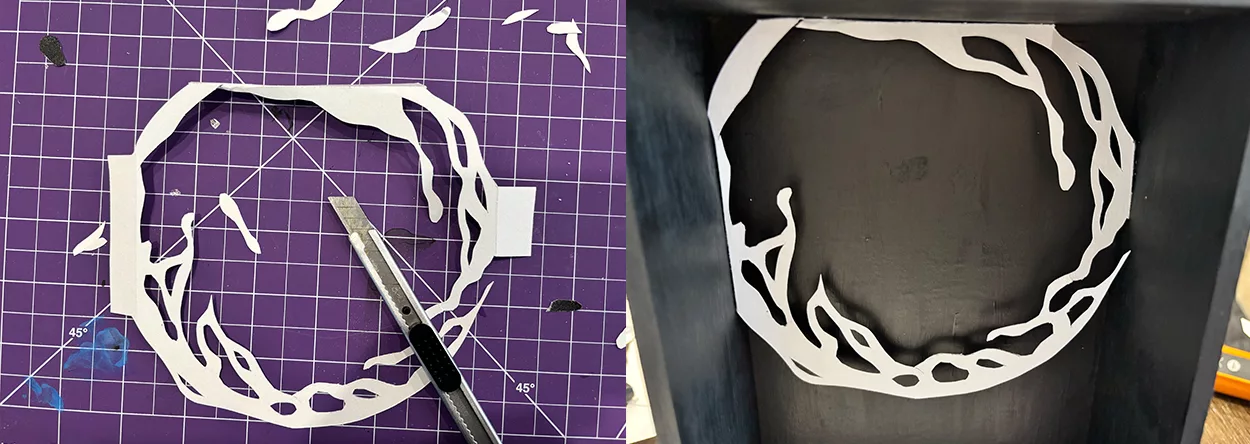
Step 4:
Used a paper cutting knife to create the main artwork pieces, starting with the background. For small paper details, a knife works better than scissors because it can reach tight curved areas that scissors can’t, and helps avoid tearing delicate shapes.
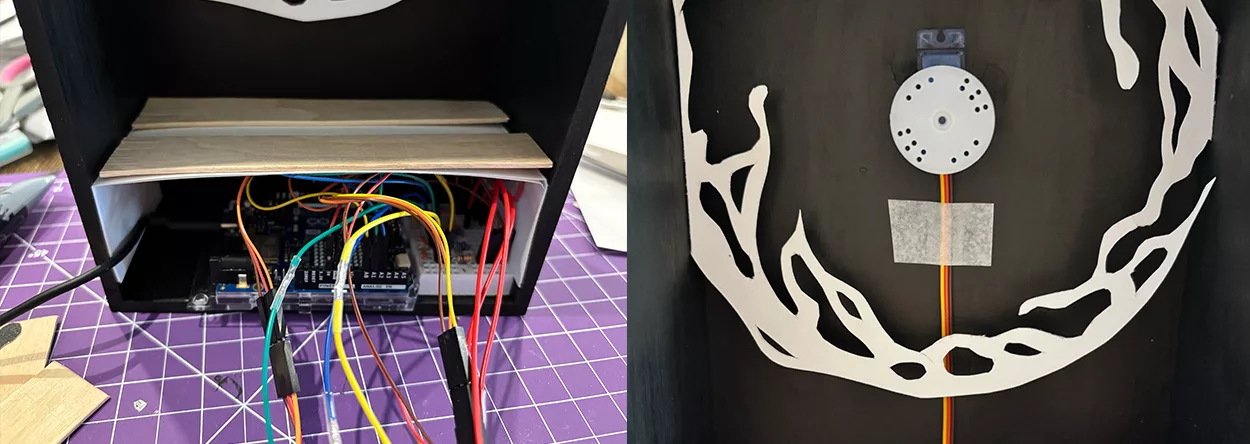
Step 5:
Built a base for the cat to stand on using wooden sticks and thick paper, then routed the servo wires along the back wall and painted them black to hide them.Side note: In this picture, I tested three servos, but later removed one.
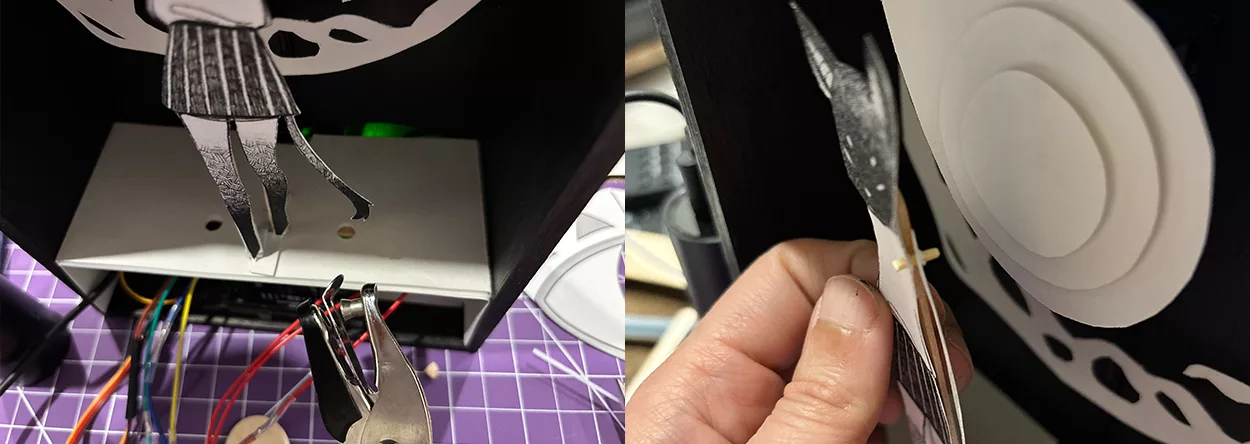
Step 6:
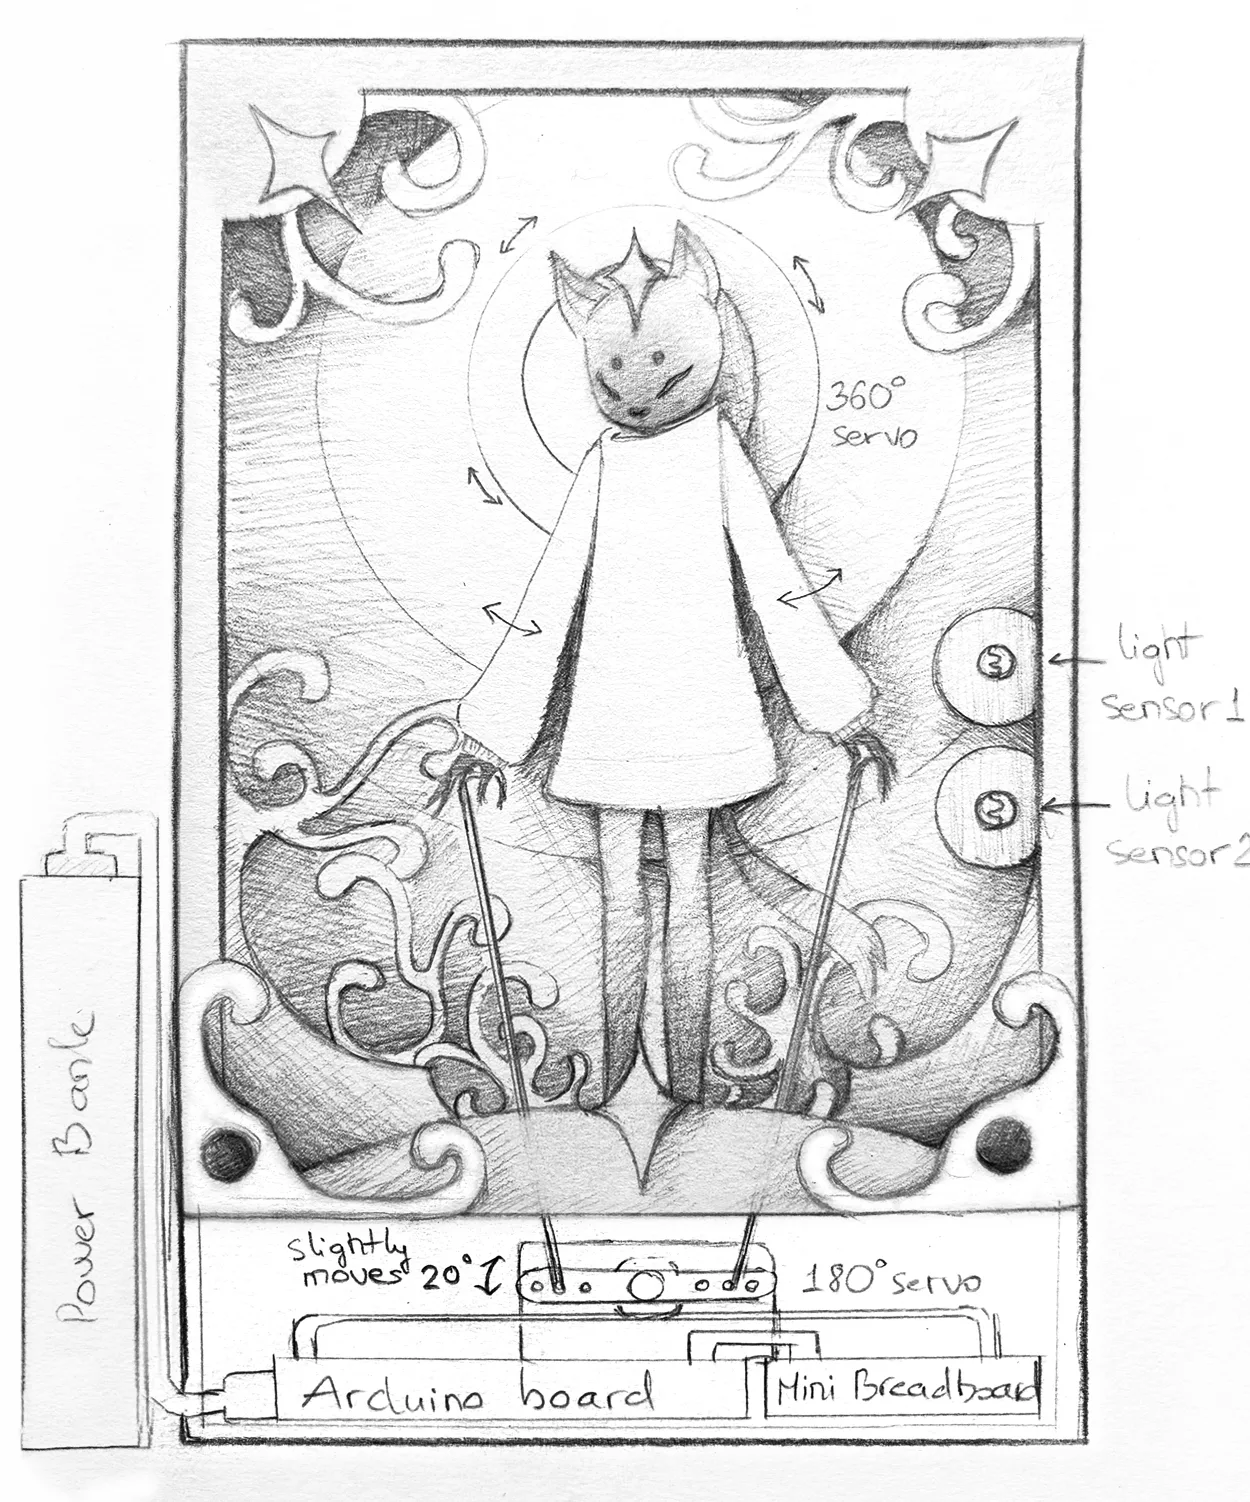
Punched holes in the base for the aluminum wire, then attached the arms to the body using hooks so they can move freely. The continuous rotation servo was decorated as a magic circle.
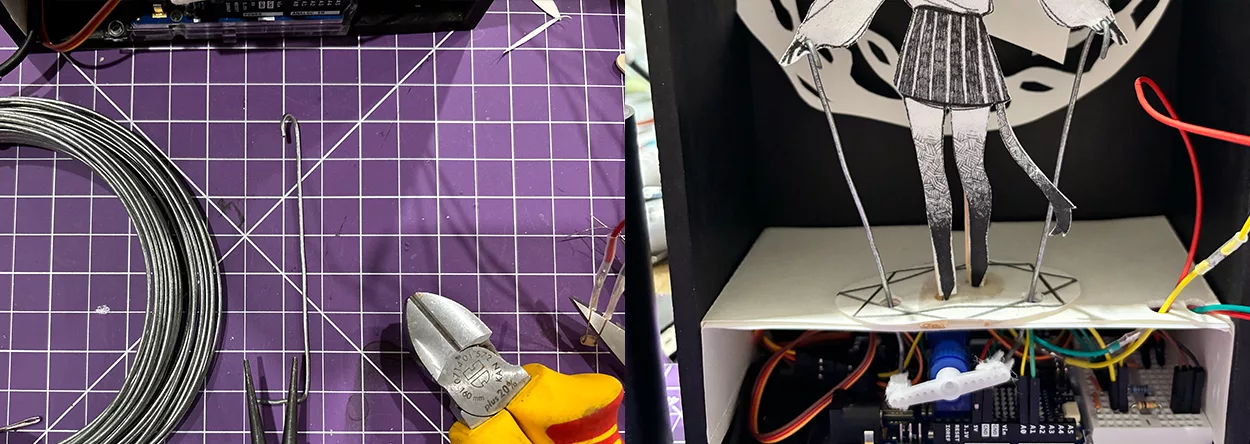
Step 7:
Used aluminum wire to create the structure that connects to the 180° servo motor and moves the arms.
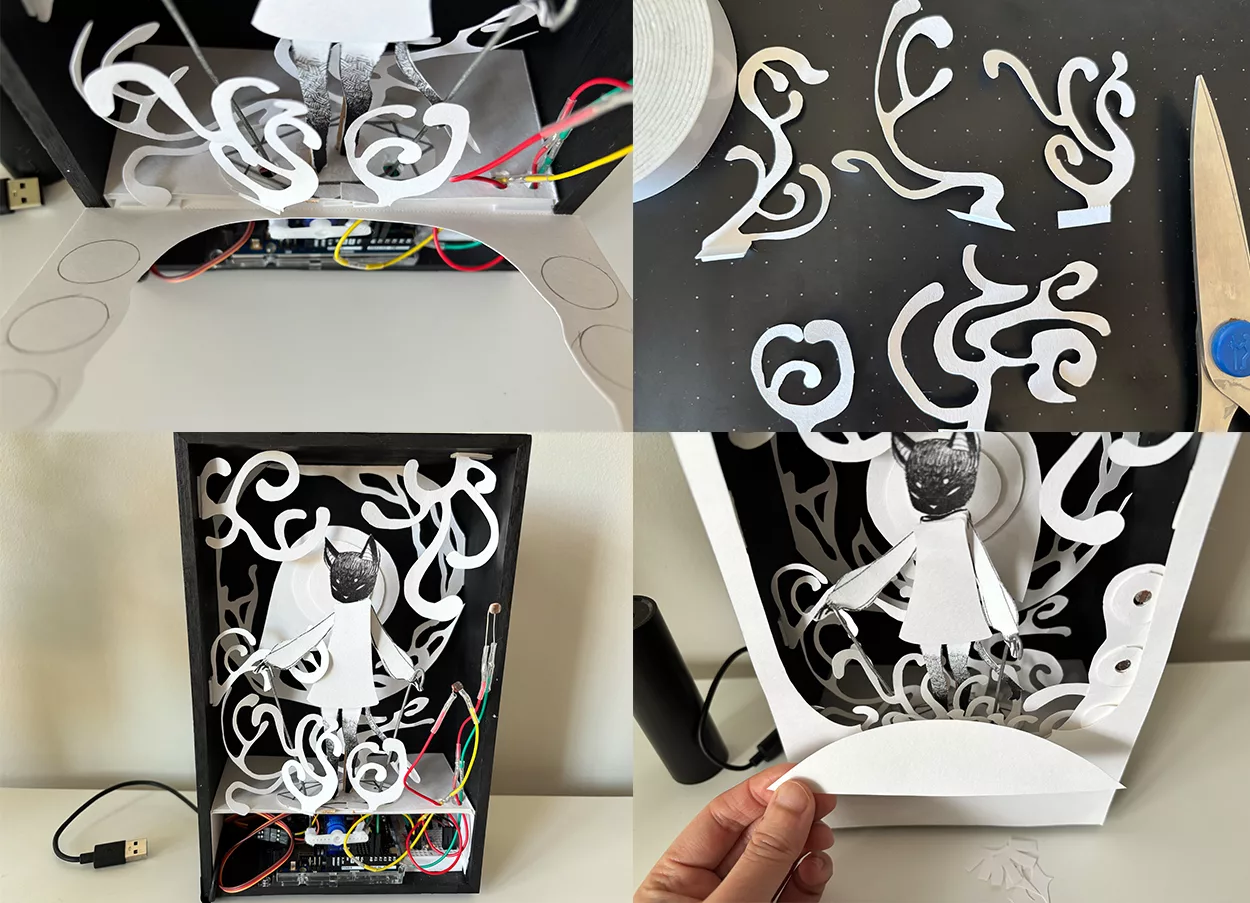
Step 8:
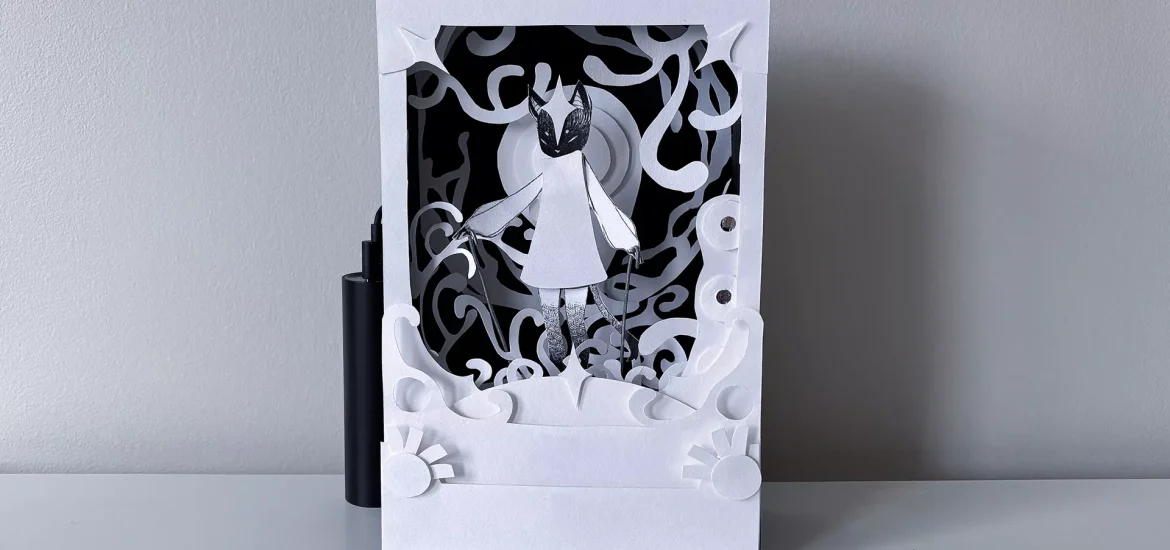
After making sure all the light sensors and servo motors were working properly.I added decorations to the box to create a small magical environment around the character, and an extra layer of the dress to conceal the wooden hooks on her shoulders.
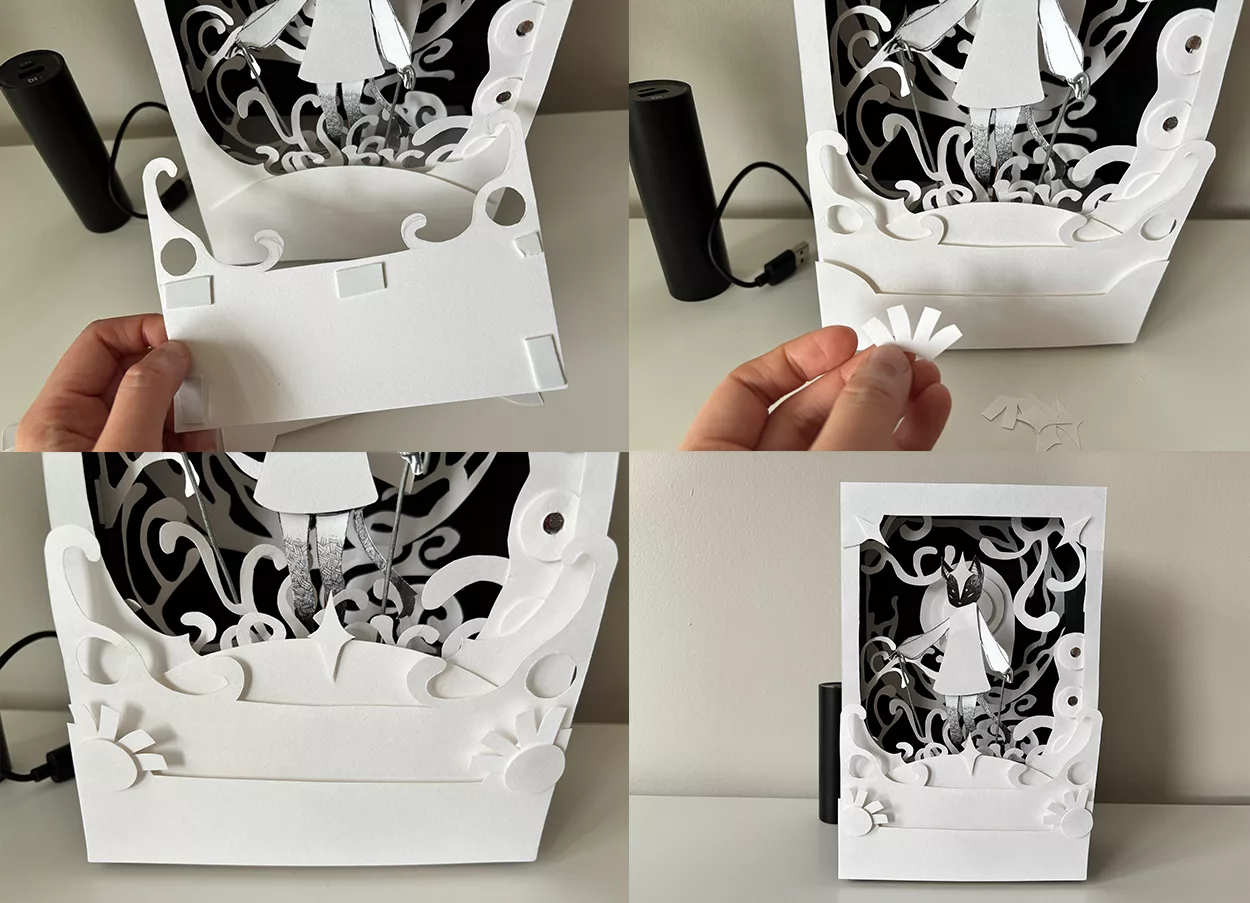
Step 9:
Added additional paper layers around the box to create the outer decorative frame.The thickness of the 3D foam tape adds depth by creating sharp shadows between the white paper layers.